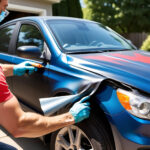
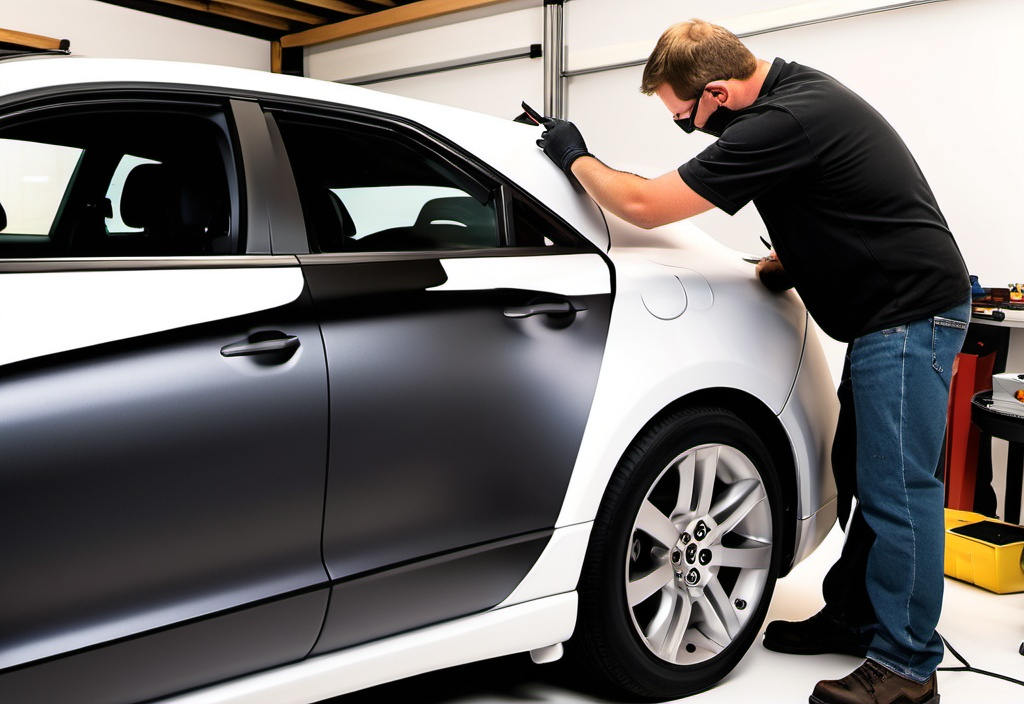
Installing a vinyl wrap is one of the most popular ways to change the look of a vehicle without committing to a permanent paint job. It offers flexibility, protection, and endless design possibilities. However, one of the more challenging aspects of car wrapping is when you need to install vinyl wrap on complex curves. Bumpers, fenders, and other curved surfaces require specific techniques to avoid bubbles, wrinkles, or lifting. This guide will walk you through the steps and techniques required to successfully wrap complex surfaces on your vehicle.
Understanding Vinyl Wrap and Its Flexibility
Before you begin learning how to install vinyl wrap on complex curves, it’s essential to understand the nature of vinyl wrap. Vinyl wrap is a versatile material that can stretch, conform, and adhere to the different contours of a car. This flexibility makes it ideal for covering smooth, flat surfaces, but for complex curves, certain methods are needed to achieve a smooth finish.
Choosing high-quality vehicle wrap is important because lower-quality wraps might tear or lose adhesive strength when stretched over curves. Always opt for professional-grade vinyl wrap if you’re working on intricate shapes like bumpers, mirrors, or spoilers.
Tools You Need to Install Vinyl Wrap on Complex Curves
To successfully install vinyl wrap on complex curves, you will need several essential tools to help you achieve the perfect finish. These include:
- A heat gun or hair dryer (to stretch the vinyl)
- Squeegees (for smoothing out the wrap)
- Precision knife (for trimming excess vinyl)
- Vinyl wrap cutting tape (for clean edges)
- Microfiber cloths (to clean the surface before application)
- Application gloves (to handle the wrap without leaving fingerprints)
Having these tools ready ensures that your vehicle wrap project goes smoothly and gives a professional result.
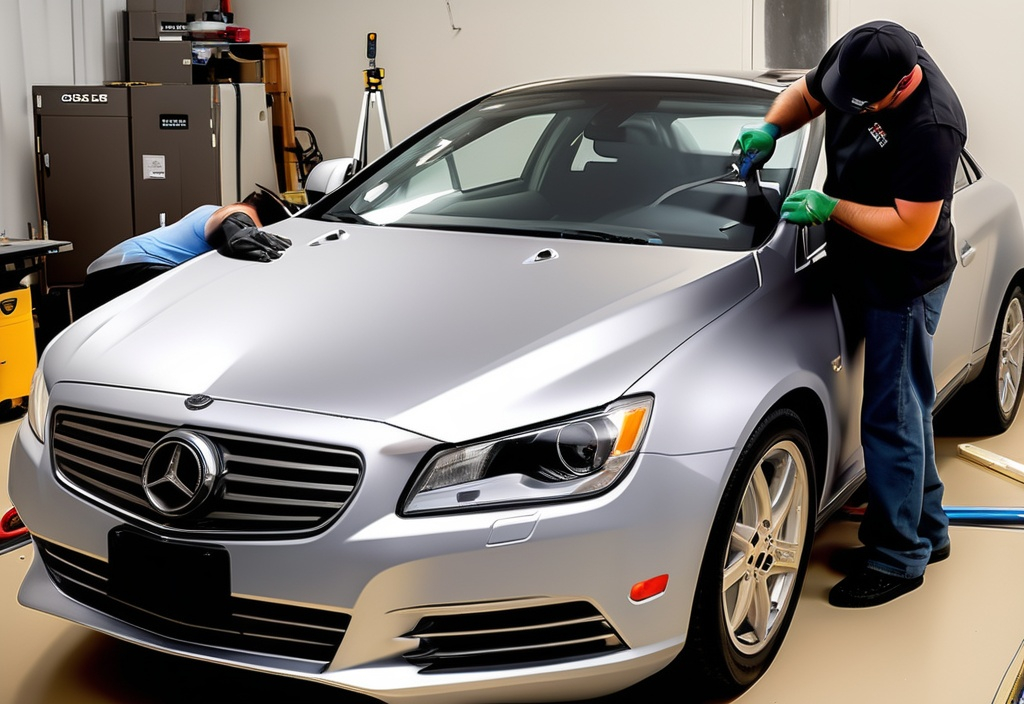
Preparation: Clean the Surface
The first step to install vinyl wrap on complex curves is to properly clean the vehicle’s surface. Any dirt, grease, or contaminants left on the car can cause bubbles or poor adhesion. Use a microfiber cloth and isopropyl alcohol or a specialized surface cleaner to thoroughly clean the areas that will be wrapped.
Pay special attention to the complex curves and edges where dirt tends to accumulate. Even small particles can ruin the appearance of your vinyl wrap and lead to long-term issues with the adhesive.
Step-by-Step Guide: How to Install Vinyl Wrap on Complex Curves
Step 1: Measure and Cut the Vinyl
Before you start applying vinyl wrap to your car, measure the area you’re working on, especially around the complex curves. Cut the vehicle wrap slightly larger than the area you’re covering. This gives you extra material to work with, which can be trimmed later.
Always ensure that you have enough wrap to cover not only the visible area but also the edges. Tucking the wrap around the edges helps ensure that it stays adhered over time and doesn’t peel up around corners.
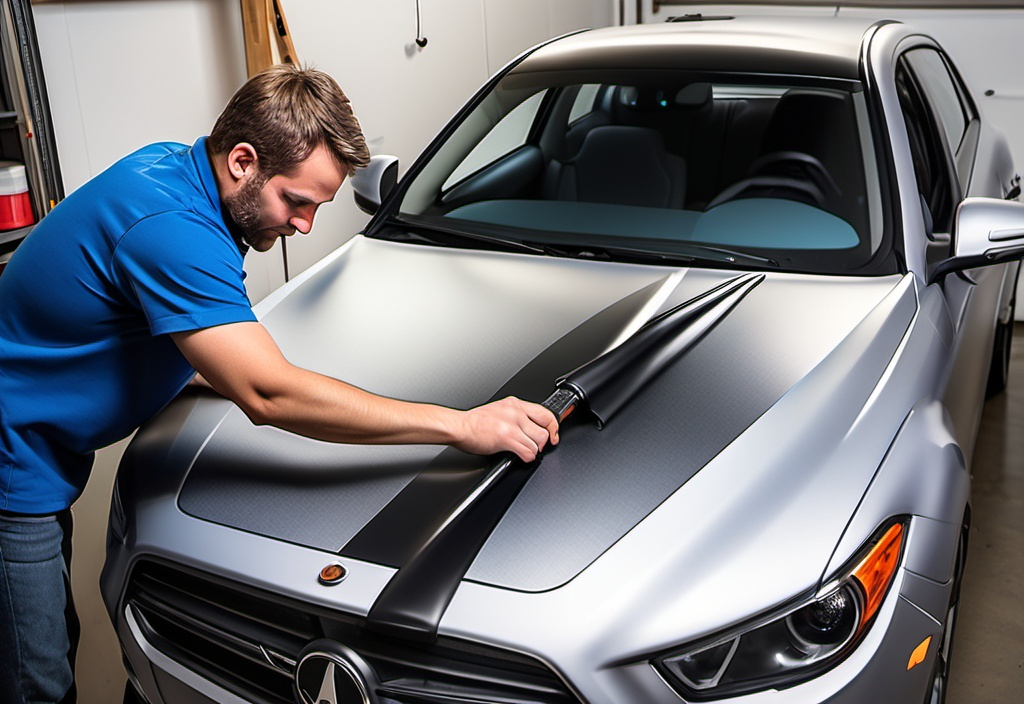
Step 2: Apply Heat to Soften the Vinyl Wrap
One of the most important techniques when you install vinyl wrap on complex curves is using heat. A heat gun or hair dryer will soften the vinyl wrap, making it more pliable and easier to stretch over curved surfaces. Start by heating a small section of the wrap and gently stretching it over the complex curve, such as a bumper or mirror.
Be cautious not to overheat the vinyl as this could cause it to melt or deform. Applying moderate heat ensures that the material remains flexible while still maintaining its adhesive properties. Proper heating helps the vehicle wrap conform to the surface smoothly without bubbles or wrinkles.
Step 3: Stretch and Apply the Vinyl Wrap
Once the vinyl wrap is heated, start working it over the complex curves. Stretch the wrap lightly and apply it in sections, beginning from the middle and working your way out toward the edges. Use a squeegee to smooth the material and push out any air bubbles as you go.
For extremely tight curves or difficult areas, use additional heat to soften the vinyl and allow for more flexibility. Stretching too much, however, can weaken the vinyl’s adhesive properties, so always balance stretching with adhesion.
Step 4: Use the Squeegee for a Smooth Finish
As you install vinyl wrap on complex curves, the squeegee is your best tool for ensuring a smooth finish. Start at the center of the curve and work your way outward in firm strokes, pressing down to eliminate air bubbles and wrinkles.
Make sure to press the vinyl evenly across the surface, ensuring good adhesion, especially around the edges of the curve. Using the squeegee in combination with heat will help the vehicle wrap conform to the car’s contours.
Step 5: Trim the Excess Vinyl
Once you have successfully adhered the vinyl wrap to the car’s surface, trim the excess wrap using a precision knife. Be careful not to cut too close to the paint surface, as this could result in scratches or damage to your vehicle.
For a cleaner finish, use vinyl cutting tape along the edges before you trim the wrap. The cutting tape provides clean, sharp lines and ensures that the wrap adheres properly to the edges of the vehicle without lifting or peeling over time.
Step 6: Post-Heat for Strong Adhesion
After you have finished applying the vinyl wrap and trimming the excess, it’s important to post-heat the complex curves to ensure strong adhesion. Use a heat gun to reheat the wrapped areas, especially around curves and edges. This step helps the adhesive fully activate and bond to the surface.
Post-heating prevents the vehicle wrap from lifting, especially around the complex curves where tension is higher due to stretching. It also ensures that the vinyl wrap holds its shape and stays in place for a long-lasting finish.
Tips for a Successful Vehicle Wrap on Complex Curves
- Work Slowly and Methodically: Patience is key when you install vinyl wrap on complex curves. Take your time to apply the wrap in small sections, and avoid rushing to prevent wrinkles or bubbles.
- Use Heat Sparingly: While heat is essential, overusing it can cause the vinyl to lose its adhesive strength. Apply just enough heat to make the vinyl pliable.
- Invest in High-Quality Vinyl Wrap: Always choose high-quality vehicle wrap materials for better flexibility and durability, especially when working with complex surfaces.
- Practice on Smaller Areas: If you’re new to car wrapping, start by practicing on smaller areas before tackling larger or more complex curves.
- Avoid Overstretching: Stretching the wrap too much can compromise its strength and lead to peeling. Apply moderate pressure when stretching the vinyl over curves.
Conclusion
Learning how to install vinyl wrap on complex curves is an essential skill for anyone looking to wrap their vehicle professionally. By following the correct techniques and using the right tools, you can achieve a flawless finish that enhances your vehicle’s appearance. With patience, proper heating, and attention to detail, you can ensure that your vehicle wrap stays in place and looks great for years to come. Whether you’re wrapping bumpers, mirrors, or other curved surfaces, this guide will help you handle even the trickiest parts of the car wrapping process.